Setting up Email
You can remain on top of any newly created tasks, priority
adjustments, due date changes, commencement date changes, etc.
with the help of PerXL's email services. You can still receive
updates via email even if for whatever reason you are not
accessible for work.
In addition to using email as usual, you can also create tasks
from received emails. Also, PerXL enables you to set up your
email so you won't have to switch tabs every time there is an
update.
Setting up Email configuration
Before you can log in to the email you have to set up the
email configuration first. It is basically setting up
protocols, server and ports for your email account.
Who can set up email configuration?
-
Only the admin team can configure the email settings.
-
Any user with a PerXL account can log in to their email in
PerXL but is unable to set up configuration unless that
setting is selected in custom role settings.
How to set up email configuration?
-
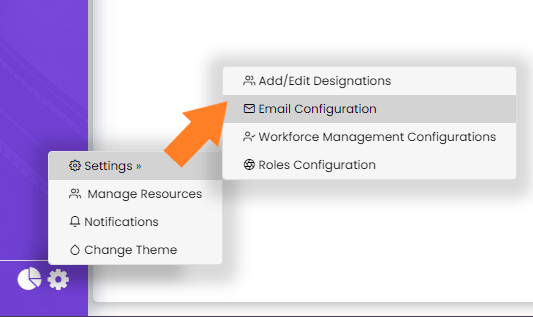
Navigate to the settings icon at the bottom of the sidebar
menu and click on it.
-
Click on the settings option which will
open a new menu, in this menu click
Email configuration icon
-
You have to set Protocol, Server, Port, etc. for both
Incoming and Outgoing configurations.
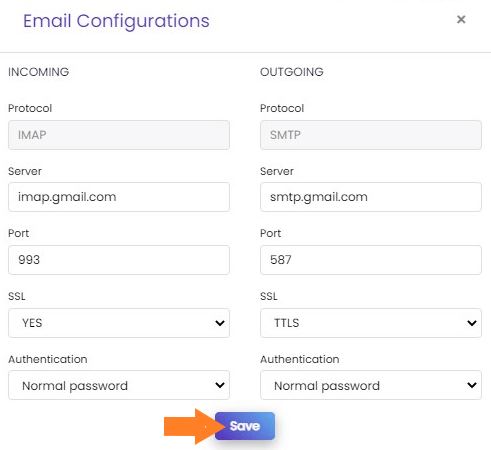
-
You can then login to your email by clicking the
Save button.
Note: Use your email provider's IMAP server, you can
look for your provider's IMAP server on Google - eg: for office
365 it's "outlook.office365.com"
Note: The email configuration settings only need to
be set up once, but they can still be changed.
How to Login to Email?
-
Click on the Email icon in the sidebar menu.

-
You will get a prompt in which you need to enter your email
and password details.
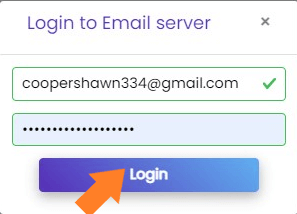
- Click Login. Now you can see all your emails.
Creating tasks from emails
After you have configured your email settings and are logged
in, you can create tasks from any email you have received. To
do this, you should take the actions listed below.
-
Under the page's sidebar menu, select the
"Email" icon.
-
To view emails, please
sign in to the email server if you
haven't already.
-
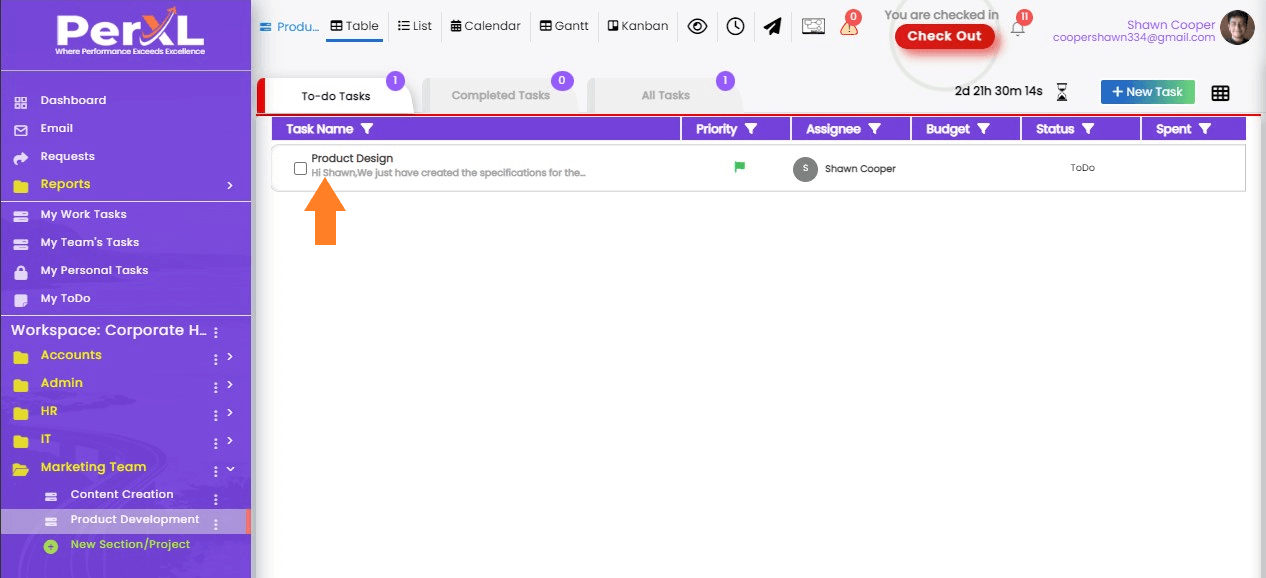
On the email list from your email, locate and select the
email for which you want to create a task.
-
Click the "More" button in the email's
upper right corner.
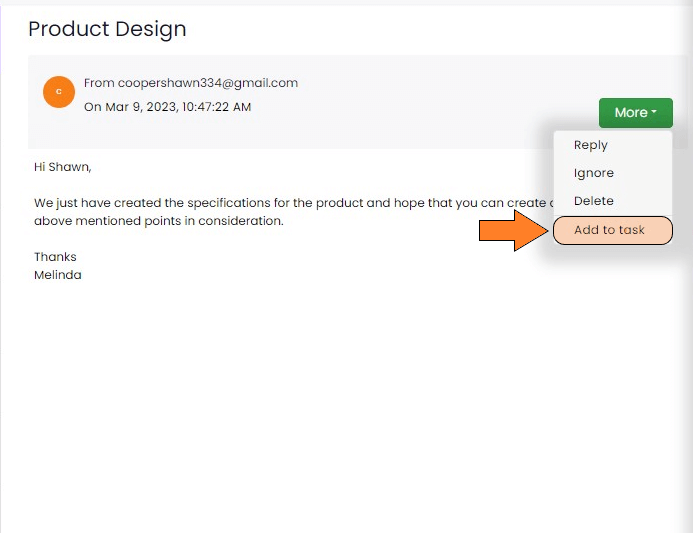
-
Choose the "Add to task" option from the
dropdown menu that appears after you complete the previous
step.
-
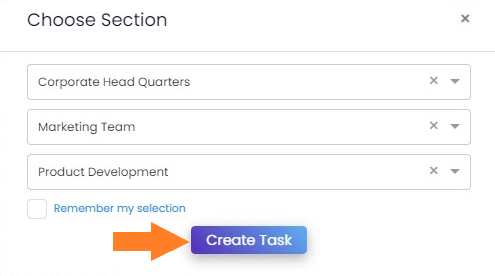
When you click on the "Create task" button
after choosing the workspace, space, and section for the
task, the task will be created into the selected Section.
Note: Only tick the "Remember my selection" checkbox
if you want to save the preferences for the previously chosen
options.
Email notification settings
The notifications for which you receive emails are at your
disposal. To customise them, follow the directions.
-
Click on Settings icon at the bottom of the
sidebar menu.
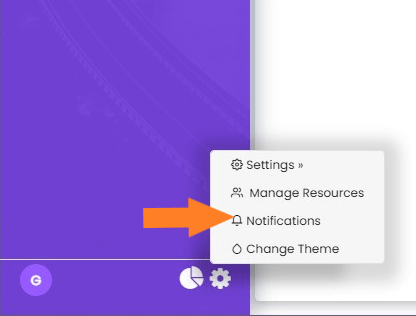
- Select Notification icon.
-
Choose the checkboxes next to the notifications you want to
receive email notifications for in the newly opened window.