Sections
Sections are sub-spaces under which tasks are created - such as
projects, teams based on their responsibilities, or the type of
work that resources do
E.g.: Team, Lead Generation, UI/UX, Web Development,
Customer success, etc.
Who can create a Section?
Only the Admin and an account with the Manager privileges are
allowed to perform this operation by default.
How to create a new Section?
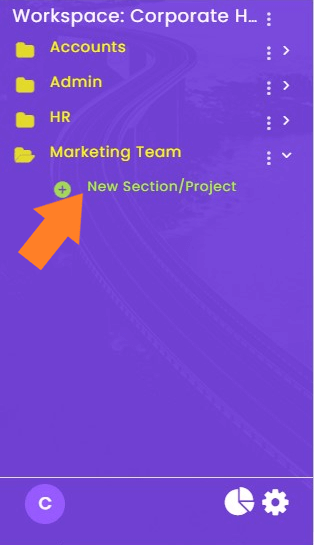
You can directly create a section using the “sidebar menu” and
following the given steps.
-
In the sidebar menu select the space name in which you want
to create the section.
-
Click on Space name or the little dropdown icon beside it
-
Click on 'New Section/Project'.
-
A new window will open in which you have to write the name
of the section and then click
'Create New Section'.
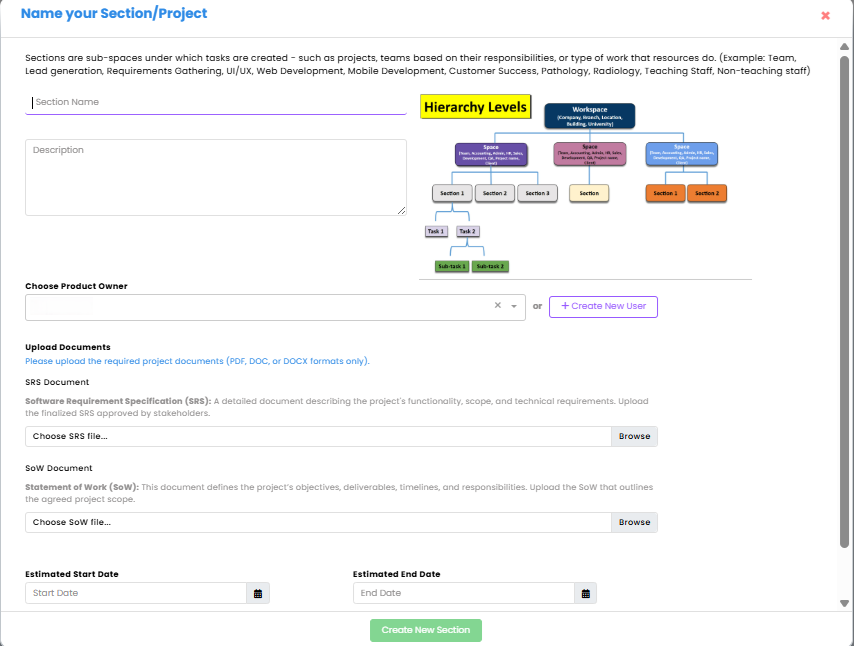
-
After the above process you can select the resources for
this section.
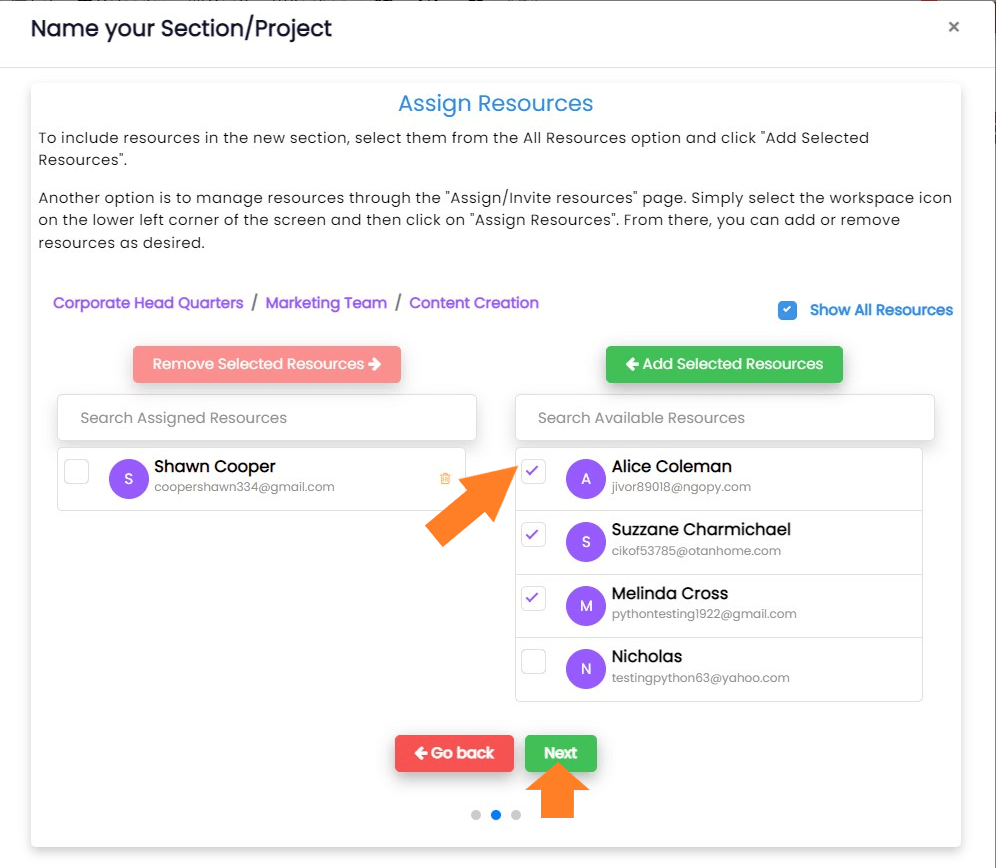
- Click 'Next' button.
-
A new page will open in which you can add the statuses as
per your project requirements.
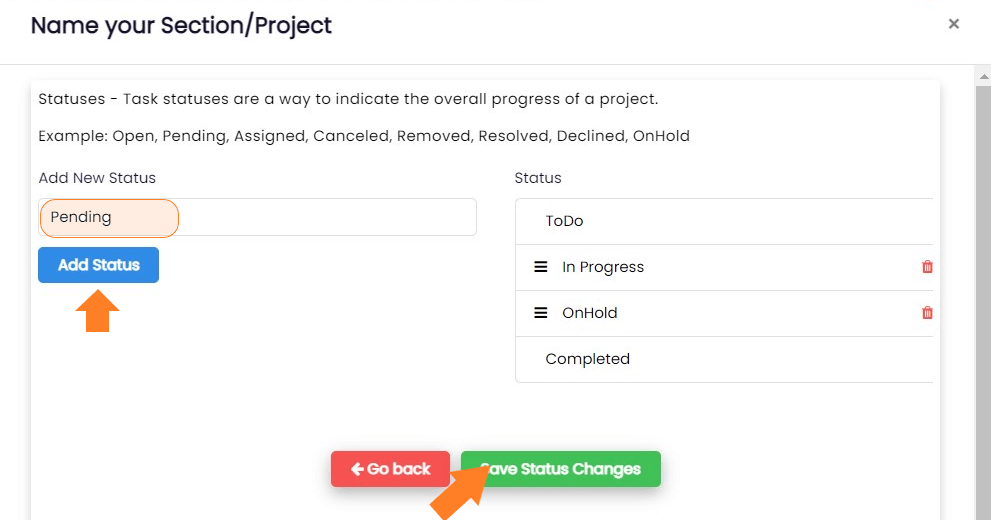
Note: If you cancel the current dialogue box the
Section will still be created using default statuses.
Creating a Section using a template
-
Select the 'Space' in the sidebar menu in which you want to
create a New Section.
-
Click on the Vertical ellipsis ( ⋮ ) beside
the selected Space name.
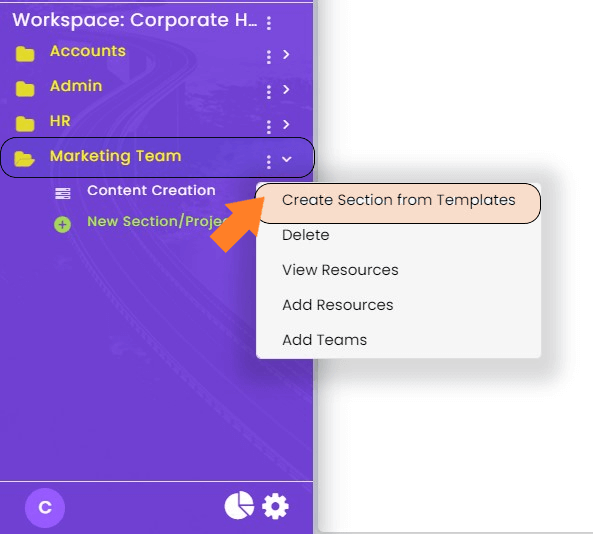
-
Select the
Create Section from Templates option.
-
A window containing templates will open up from which you
can select the required template by clicking on
Choose button below it.
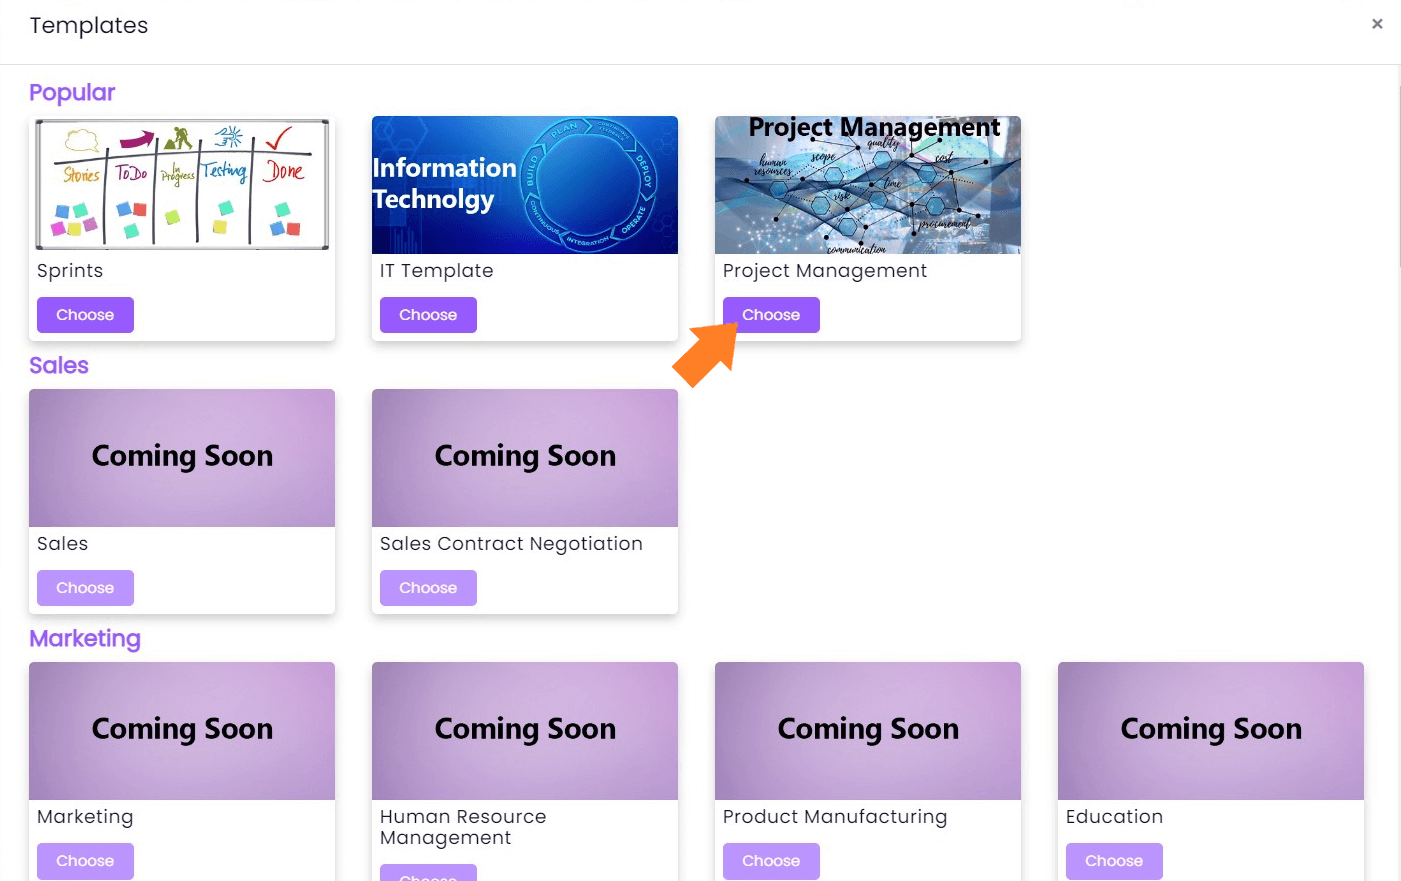
-
After that, you can rename it and click on Create Section
button.

-
You will get a similar prompt as above to assign resources.
After selecting changes you can update the changes.
Editing a section
Who can edit the Sections?
Only Admin and an Account with manager privilege can edit them
by default.
How to edit a Section?
-
Select the Space name which contains the section that you
want to edit in the sidebar menu.
-
Click on the Vertical ellipsis ( ⋮ ) beside
the section name.
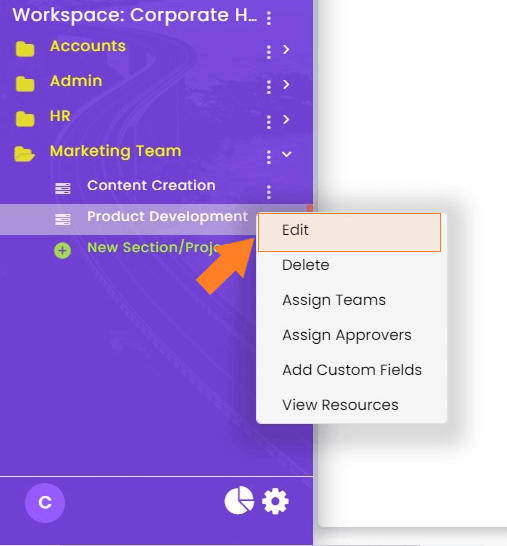
-
Select the Edit option.
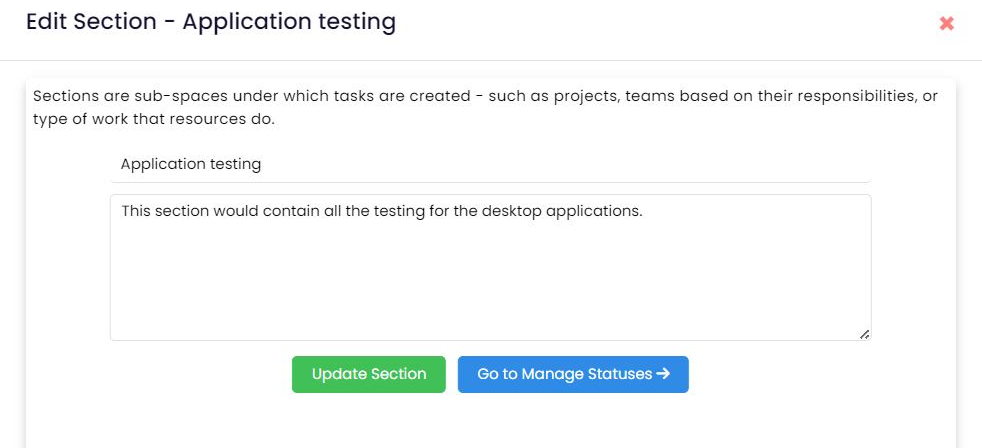
-
Now you can edit the section name or its description by
editing the name of the section and clicking the
Update section button to save changes.
-
Click on the Go to Manage Statuses button
to add or remove statuses as discussed
above.
-
Click on "Next" button to edit the section
budget or some other parameters like the budget, resources
required etc.
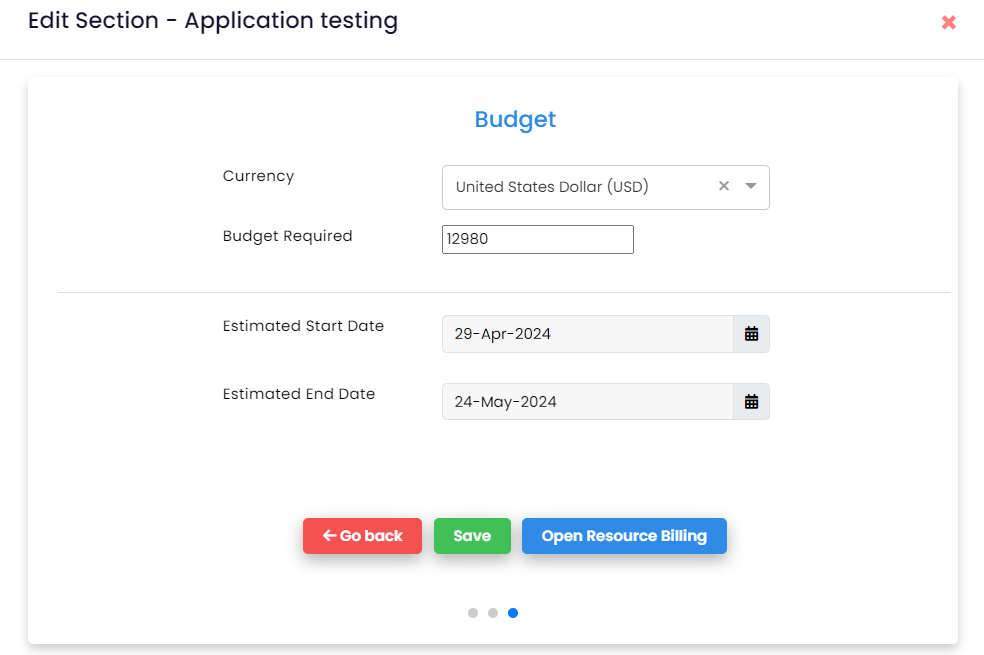
-
In case you are done with the changes select
Save button. If you want to edit the
resource billing click on the
Open Resource Billing button and follow the
steps after point 4 given here.
Closing a section
Once the project has been completed and no longer required you
can close that particular section/project. The resources
assigned to that project or any person with required
permissions can still view the project details but future
editing would not be allowed.
Note: You will not be able to add/update any tasks
in this section after closing.
Who can close the section/project?
The admin and manager accounts along with any resource account
which has been given the permissions can close the section.
How to close the section/project?
-
Select the workspace and space under which your project is
located.
-
Click on the Vertical ellipsis ( ⋮ ) icon
beside the project/section name that you want to close.

-
In the dropdown menu appeared select
Close Section option which will open up a
popup warning you about not being able to add or remove the
tasks.

-
If there are some incomplete tasks in this section you will
be given a warning if you still want to move forward. Select
"Yes" and your section will be closed.
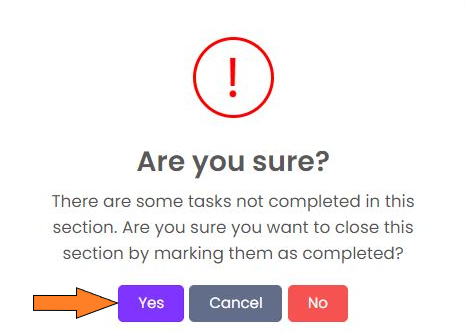
Note: All the incomplete tasks if present, will
automatically be marked complete if you close the section.
Section Collaboration
A great tool to increase teamwork of your resources is
collaboration. It allows your teammates to share their skills,
talents, and ideas to achieve a common goal.
Who can use section collaboration?
The admin and manager accounts along with any resource who is
assigned to a particular section can use it.
How to use a section collaboration?
-
Select and open a section in the workspace in which you want
to collaborate./li>
-
At the top of the window, you will find an
 icon. Click it and it will open the collaboration window.

-
This collaboration window contains the name of all the
members of that section in one side.
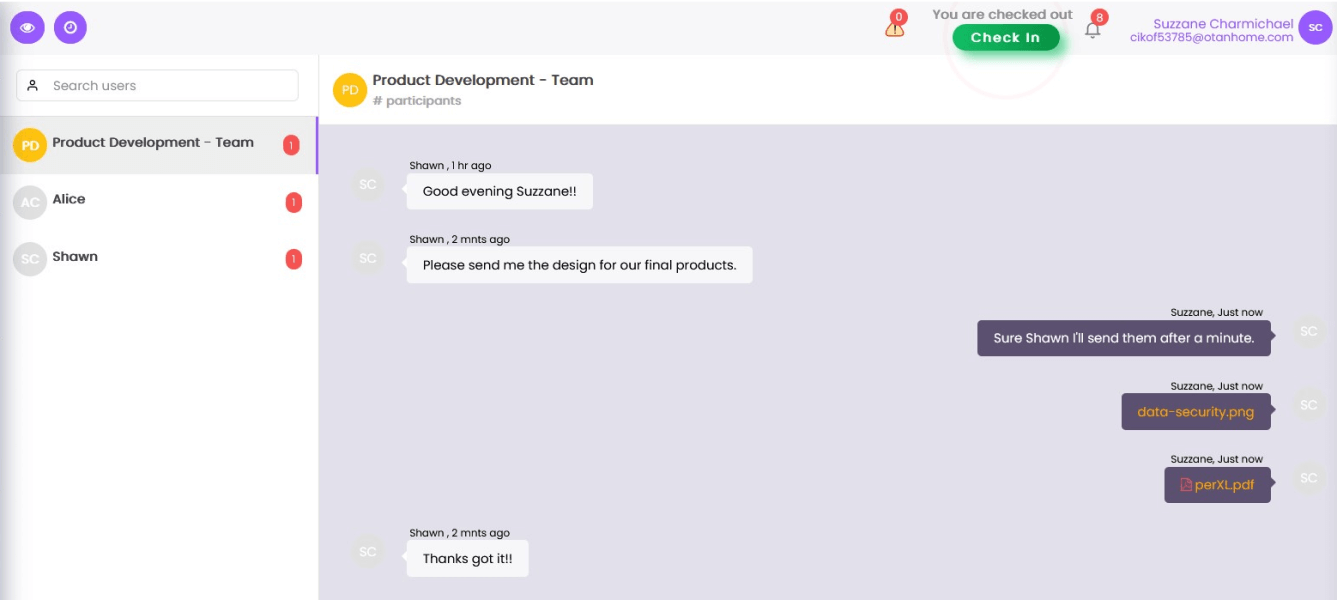
-
You can communicate your plans individually by selecting the
individual and messaging it or you can have a public
discussion with the team.
Deleting a section
A great tool to increase teamwork of your resources is
collaboration. It allows your teammates to share their skills,
talents, and ideas to achieve a common goal.
Who can delete a section?
Only Admin and account with manager privileges can delete a
section by default. You can change them in Settings
How to delete a section?
It is very easy to delete a section if your project is
complete or you simply want to free some of your resources.
Just follow these simple steps -
-
Click the Vertical ellipsis ( ⋮ ) beside
the section name in the sidebar menu which you want to
delete.

- Select the Delete icon.
-
Click Yes on the confirmation prompt.
Move Section
We can move sections from one space to another space in same
workspace or different workspace using this feature.
Moving Section
By default only users with the manager role and the
administrators are allowed to move sections.
-
Click on Vertical Ellipse Button on section want to move.
-
Select Move Section option from list in the
menu.

-
Select Workspace, Section from list to move section and
Click On Move Section.

Duplicate Section
How to Duplicate Section?
By default only users with the manager role and the
administrators are allowed to move sections.
-
Click on Vertical Ellipse Button on section want to move.
-
Select Duplicate Section option from list
in the menu.

-
Copy the section with with resources or without resources to
complete the process.

Assign Resources
How to assign resources to section?
By default only users with the manager role and the
administrators are allowed to move sections.
-
Click on Vertical Ellipse Button on section want to move.
-
Select Assign Resources option from list in
the menu.

-
Step 1 in UI is filled automatically . In Step 2, User can
invite members via email or load emails using csv file. In
Step 3, we can add or remove resources


Assigning teams
Who can assign teams?
By default only the admin and account with the manager
privilege can assign teams.
How to assign Teams in a section?
-
Click the Vertical ellipsis ( ⋮ ) beside
the section name in the sidebar menu in which you want to
add teams.

- Select the Assign Teams icon.
-
You will get the list of all the teams available for that
particular section.
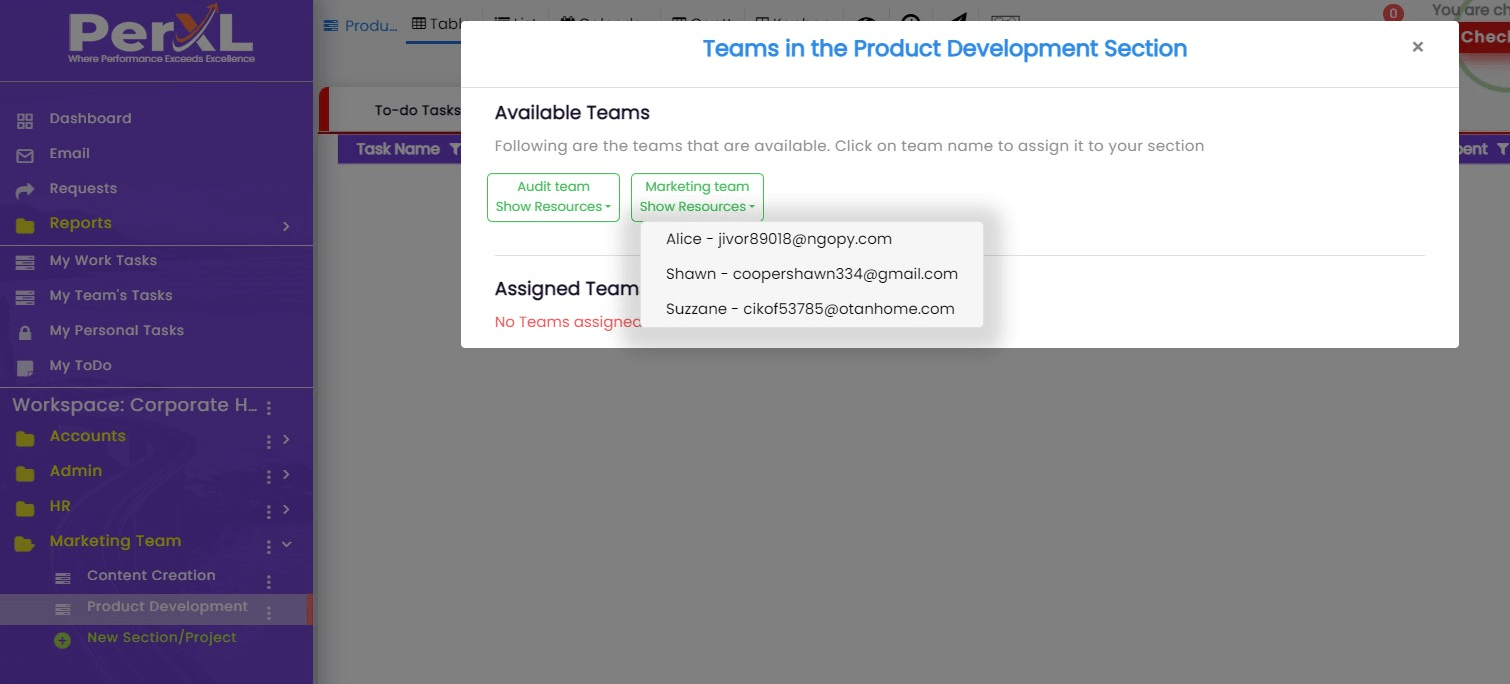
-
Click on the Team name to assign it to the current section.
Note: Check whether you've allocated the team to
the current Space if you can't see the team lists.
Assign Task Approvers
Section approver is a user account which reviews the work,
resolves issues if any and then changes the status of Task to
"Approved".
In this product you can have 2 approval levels. Primary
approval is granted at Level 1 and secondary approval at Level
2.
Who can assign task approvers?
By default only the admin and account with the manager
privilege can assign task approvers.
Approver can be any type of PerXL account.
How to assign task approvers?
-
Click the Vertical ellipsis ( ⋮ ) beside
the section name in the sidebar menu in which you want to
assign task approvers.
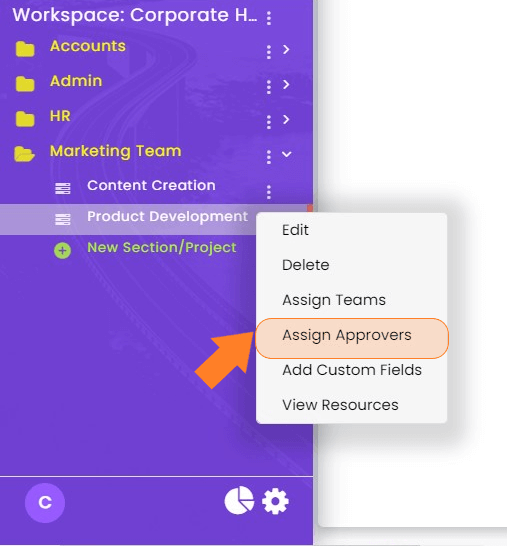
-
Select the Assign Task Approver icon.
-
To designate someone an account approver, select the "Is an
approver?" checkbox next to their name and give them an
approver level.
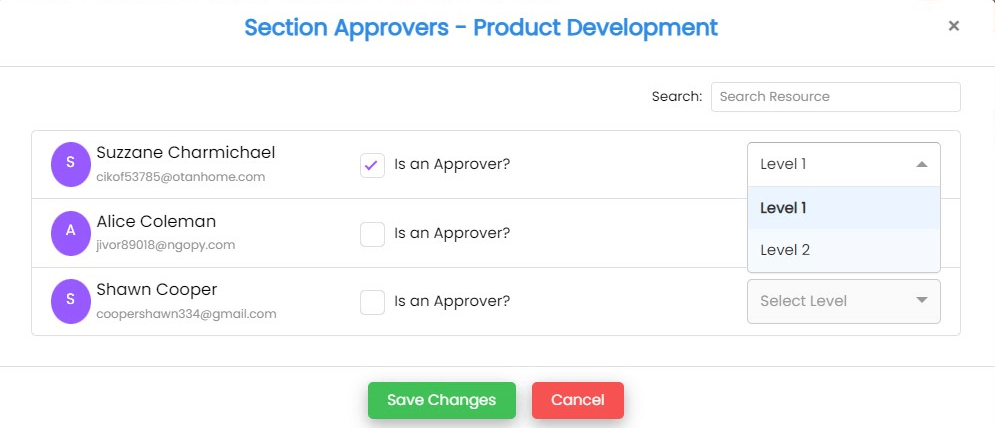
- Click on Save Changes button.
Add Custom Fields
Custom fields are used to add additional data or information
to a section or task, such as a due date or priority level.
Who can add a custom field?
Only the admin and an account with manager privileges are
allowed to add custom fields by default.
How to add Custom fields?
In the sidebar menu click on the
Vertical ellipsis ( ⋮ ) beside the section
name in which you want to create a custom field.
-
Click on the Workspace settings icon at the
bottom left of the screen.
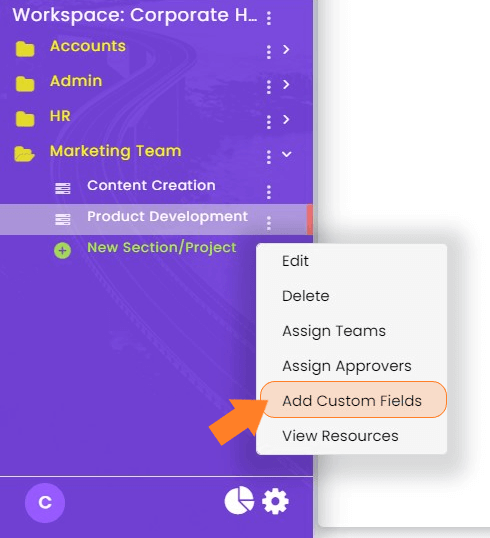
- Select the Add Custom fields option
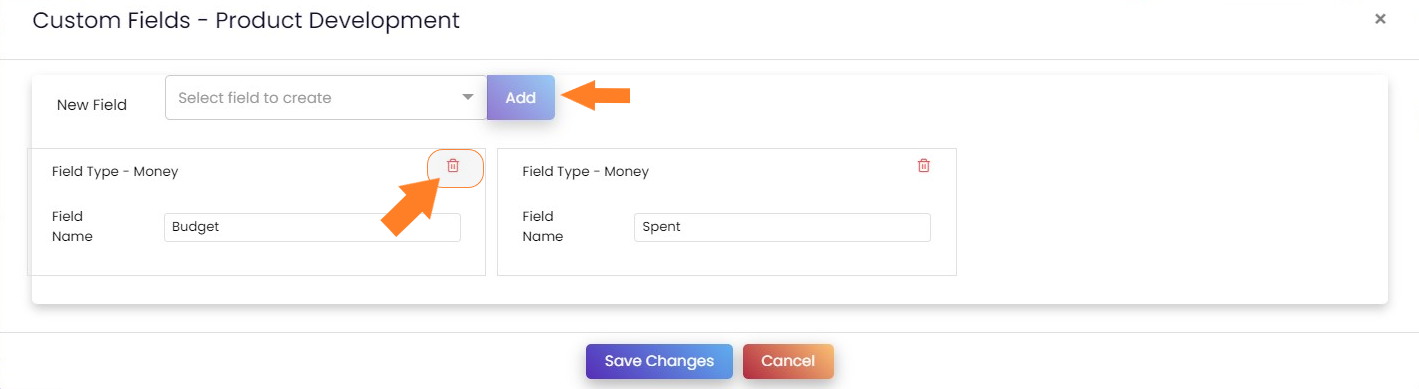
-
A pop-up window will appear in which you can create a New
field.
-
Select any field type from the options in the dropdown menu
like - Date, Email, Checkbox, Money, etc. and select
Add button after that.
Add Automations
Who can add automations?
By default only the admin and account with the manager
privilege can add automations.
How to add automations?
-
Click the Vertical ellipsis ( ⋮ ) beside
the section name in the sidebar menu in which you want to
add automations.

- Select the Add Automation icon.
-
Provide a clear name for your automation rule and an
optional description to help your team understand its
purpose.
You can use the "Build With AI" button to quickly generate
a rule based on natural language prompts.
Define the trigger conditions that will activate the
automation, such as Task created with conditions like :
the user in the Created By fieldor specific field updates.

-
Click the green Create button at the bottom
right to activate your rule.
View Resources
How to view Resources?
- Click on vertical ellipse of section to open menu.
-
Select on the View Resources option from the menu.

-
User can check resources that are added to this section.

Manage Resource Incharges
How to manage resource incharges?
- Click on vertical ellipse of section to open menu.
-
Select on the Manage Resource Incharges option from the menu.

-
User can select existing resource or invite incharges via email.

Create New Change Request
How to create new change request?
- Click on vertical ellipse of section to open menu.
-
Select on the Create New Change Request option from the menu.

-
User can submit a request for modifications to project timelines, resource allocation etc.. Complete the form and upload revised SRS and SOW documents to submit change request.


Section Overview
How to view section overview?
- Click on vertical ellipse of section to open menu.
-
Select on the Section Overview option from the menu.

-
User can view Basic Info, Timeline & Check Section Logs from sidebar.

Change Status
Users can change status of section with below options
- Close
- Pause
- Complete
- Cancel
- Active
- Under Review
How to change status of section?
- Click on vertical ellipse of section to open menu.
-
Hover on the Change Status option from the menu.

-
Select any option from list of options and provide the reason.